1. Water training
First do watering exercises. In the shallow water area, bend over and immerse your head into the water, count silently, and see how long you can hold on.After repeated practice for a period of time, you will no longer be afraid of soaking your head, and the time of holding your breath will gradually extend.You can also do simple walking activities in the shallow water area to slowly adapt to water activities.
2. Drift
One role of learning is to practice balance.Human head is very heavy. As soon as the head is water, the load of the body is even greater. In addition, if you raise your head, your body will naturally sink.
In the shallow water area, stand back against the wall of the pond, bend over, extend your arms forward, buried your head into the water, and then lift a leg to the back of the pool wall, so that the body is flattened forward.Be sure to bury your head into the water so that your body can be flattened.
Try to relax as much as possible, don't be nervous, and gradually realize that water can float your body.After losing speed, the legs will gradually sink, and then slowly stand up.This gradually overcome tension and cultivate hydrophilicity.
3. Pour water in the arm and legs of the legs
After repeated practice several times, I have confidence and feelings about drifting.After the floating sense and balance are established, you can increase the advancement of breaststroke -arms water and legs.For beginners, these actions are very simple, and you don't need to focus too much on this.After you can swim, the quality of movement gradually improves.
swimming physical training method
1. 90 minutes of training time
2. The frequency 2 times a week
3. Division of training methods
4. Specific arrangements for training:
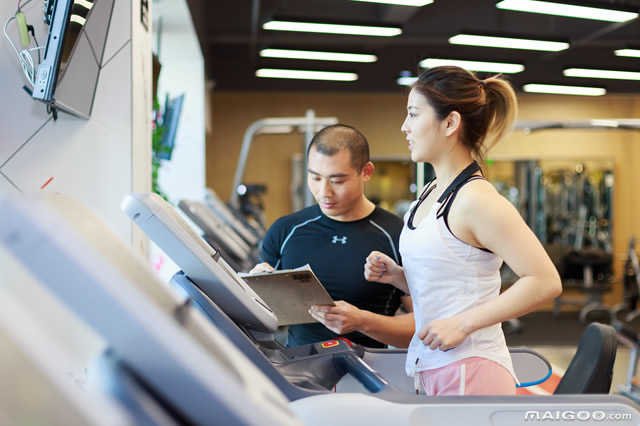
(1) Aerobic training at 30 minutes at a time, the strength is 65-75%of the maximum heart rate, and the method is swimming.
(2) 35 minutes of power training, the action is selected as follows:
Desktop support: 4 minutes, target muscle: abdominal muscle.
swimming: 2 minutes, target muscles: erected spine muscle.
Landscape rolling abdomen: 2 minutes, target muscles: rectus abdominis.
Push the chest in the device: 2 minutes, the target muscle: pectoral muscle, triceps, and bougainvillea.
Pulling forward: 2 minutes, target muscles: latissimus dorsi, biceps.
Sitting on your legs: 2 minutes, target muscles: quadriceps, gluteal muscles, and rope muscles.
Sitting the legs with legs: 2 minutes, target muscle: dopycassus in the thigh.
Note: Each group is 1 minute.
(3) Ten minutes of joint relaxation and fascia relaxation, relax the shoulder joints (one minute on one side), relax the spine (30 times), and relax the hip of the hip (30 seconds on one side), the foam shaft relaxes the loticThe tibial beam (1 minute on one side), the foam axis relaxes the back and waist fascia (1 minute each).
swimming power training method
1. Basic strength
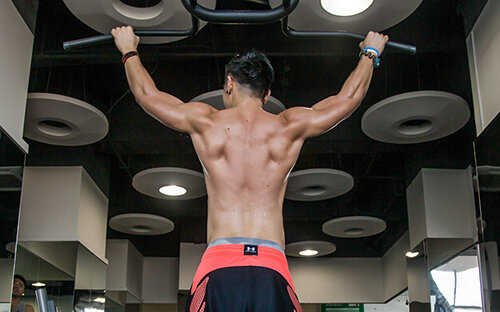
Basic power is the power basis we need to maintain the basic swimming technology. Everything behind the power basis cannot be talked about. There are many basic power training methods. There are many aspects.Or increase the strength with elastic rope.You can also enhance the strength of the lower limbs through Running, frog jump, and other strengths.The upper limb training can be treated up by the bodies, dumbbells, and so on.
2. Special force training
Special force training is mainly for some specific actions during swimming to exercise your muscle strength, carry -weight leg practice, straight -arm rowing exercises, and Russian turntable exercises.The explosive power is the combination of speed and strength when swimming. It is indispensable. Therefore, the training methods I recommend here are as follows. Put the jump, set up a long jump, and throw the ball on the back of the wall.
3. Pirellium training
Endurance training can be intermittent training with the intensity of the game to improve the ability of the body to adapt to the metabolism and the ability to provide energy to improve physical endurance.It is more obvious than the second, so the second training method is more selected.
4. Core muscle group training
For example, push -ups, tablet support, etc. can be used to exercise your core power.
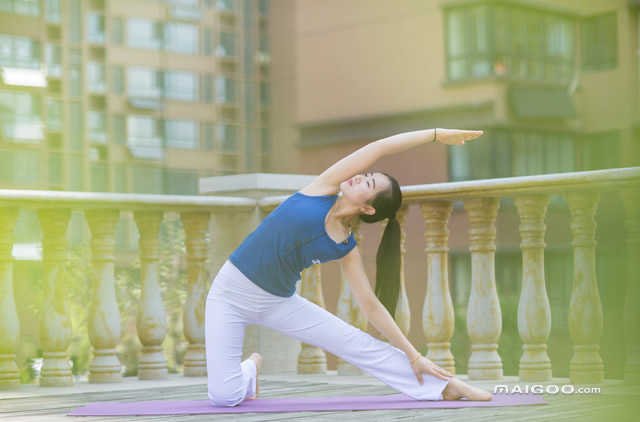
5. Flexible training
Flexible exercises are the same as various stretching exercises in fitness, which can be used as stretching of various muscle joints in the body.If you have conditions to participate in yoga exercises, it is even more perfect.
6. Coordination training
Coordinated training is essential in swimming, but swimming itself is a way to exercise well. Coordinated exercises during swimming training can be jumped with single -legged rope, crawling training, and hand -lipsticking in swimming in swimming.Cooperate with exercises to conduct coordinated training in swimming.
How to carry out swimming training plans
1. Correct mentality and prepare for long -term "Fighting".
2. watch a large number of videos and conduct expression thinking training methods to clearly know what is wrong movement and what is the correct movement.
3. Correct decomposition can lay the correct cooperation tour.
4. Moving your brain, thinking hard, and learning to swim with your brain.
5. Persist in recording the training diary and make progress on the paper.
6. If you have the conditions to ask the coach, listen to the coach's explanation and guidance carefully, and carefully look at the coach's demonstration.When you do nt practice self -study alone, you need to take a lot of selfies and analyze themselves.
swimming training technique
1. Press the legs on the front
This action will greatly help our knees. We generally need to do at least 20 groups of action.
2. Break -up action
This action is to better warm up our waist. Generally, we need to do 10 like this action.
3. Pulling heel
This can stretch our leg ligament muscles. This is also very important, because if the ligament does not warm up, we will not be able to eat it after we get into the water.
4. Warm upper limbs
We need two hands to stretch at the back. This is also the key. When stretching backwards, we need to pay attention to breathing. Generally, we need to do more than 10 groups.
5. Side presses
Minding legs is also very important. When measuring the legs, we need to pay attention not to press too hard. Generally, a group requires more than 10.
6. Warm upwards
First, the left leg or right leg, and then the other group, push in order, generally need to do 20 groups, and then we can swim in water.
1. Multi -deep breathing before formal holding the breath. Each time people breathe, they did not exhale all the air in the lungs in the last time. The oxygen in this part of the air has been used, which is not fresh.He took a deep breath many times before you stuck, completely excluded this part of the gas in vitro, and the inhaled gas that was inhaled again when he was deeply inhaled was completely fresh air.In addition, you can fully expand your lungs in many deep breathing, so that you can inhale more air than usual.
2. After inhaling all the air into the lungs and start to hold your breath, exhale from the lungs from the lungs and leave some gas in the oral cavity.repeatedly.This is to maximize the utilization of oxygen in the air for alveoli to fully contact the air inhaled in the lungs.
3. After the start of the breath, keep the body as quiet as possible. Do not have extra movements, because any movement needs to consume the energy of the human body, which will increase the oxygen demand.
4. By the last stage of holding your breath, when you feel that you reach the limit, don't exhale all the gas of the lungs at once. You can control your slow exhalation as much as possible. This process can let you hold your breath for 10 seconds.
Inflatable skills in water
1. Keep your breath in the water
Squat the side of the hand, the companion, or the coach's hand, so that the head did not enter the water to practice the breath, and stood up after several times, so that it did not need to protect the practice by themselves.The longer the breath time, the better.If the head feels uncomfortable, the exercise should be terminated to avoid damage.
2, exhale in the water
Squat the wall or companion's hand, put your head into the water, and then vomit with your mouth (nose) slowly. It is best to exhale with your nose alone.Stand up slowly after a period of time.The older the breath time is, the better.
3. Rhythm breathing
There are regular, rhythmic breathing, which is basically similar to the water in the water in front: exhale with mouth (nose) in the water. In addition to paying attention to the rhythm, you can cooperate with the movement of both hands.
Breathing practice method
Stand in the water, support the shore/pool wall with both hands, take a deep breath with your mouth, then squat to immerse your head into the water, hold your breath slightly, slowly exhale out with your mouth and nose, and gradually stand up and raise your head.When the water surface, quickly exhale the remaining gas.Then use your mouth to inhale quickly and deeply on the water, repeat multiple times to achieve proficiency.
The number of practitioners in each group should gradually increase, from more than a dozen to dozens of times. The group can stop slightly between the group and the group. After the breathing is basically uniform, do the second group of exercises.Every time you get out of the water, do not turn the water on your face. After all, you can't wipe your face every time when you swim.
Stepping on water
1. "Dog Plane" stepping on water
"Dog planing" means keeping your arms swinging in front of you, and at the same time, your legs are stepping on the water under the water underwater.
Advantages: You can do it without too many "formal skills".
Disadvantages: Very energy -consuming, which means that you can't use this method for a long time in water.
2. "shallow water" method
The so -called "shallow water" means that when you kick back and forth, your arms are expanded to maintain balance.When stepping on the water in this way, pay attention to keep your toes down. At the same time, one leg is kicked forward and the other legs should be kicked backwards, so as to form continuous front and back swinging.
Advantages: arms are liberated, allowing you to do other things when stepping on the water;
Disadvantages: Because you use your legs to float yourself on the water, it will make people very laborious.
3. "Frog" kick
When you kick your legs, you must keep your thighs, lift your feet to both sides, and then put them down.This method is also known as "narrow -thorium".At the beginning, the legs are vertically closer, then the calves are extinguished to the sides of the body, and the starting movements are quickly recovered, which is the "frog" action essential.
Advantages: Compared with "Dog planing" and "shallow water", "frog" does not need to be so tired;
Disadvantages: This method of kicking will allow you to float up and down in the water and cannot float on the surface relatively static.
4.
As the name implies, "paddling" is to move your arms as a paddle.When doing this action, open your arms completely, place them on both sides of the body, and immerse them under the water at the same time.The palm of the hand is inward, and at the same time, the palm is gathered in front of the body. When the palm is about to touch, quickly turn the palm of the palm out, and at the same time move your arms outward to the starting position.Try to finish a round with both hands.
Advantages: free your legs, so that you can combine the paddling movements of other feet at the same time, such as the "shallow water" method.
Disadvantages: You must immerse all parts except your head to the surface.
5. "Return" method
This method is also known as the "eggbeater" method. It requires you to draw circles in one foot in the water when you are in the water, and the other foot is drawn in the direction of the counterclockwise direction.This method is difficult to master, but it can greatly save energy.
Advantages: If you can fully master this method, you can save a lot of physical strength.
Disadvantages: It is very difficult to fully master this method, and a lot of exercises need to be performed during the learning process.
6. "Small helicopter" method
Using the same movements when floating, lying on the back of the back, lying back on the water, and immediately began to draw the circle with both hands, and the legs stepped up and down at the same time.
Advantages: Simple movements, children easy to understand.
Disadvantages: Continuously drawing in your hands will make people feel tired.
Floating technique in water
1. Use your hands and feet
Make sure your body and limbs are vertically upward from the water surface.If you hit your body horizontally and start kicking and paddling with your feet in the water, it is already a swimming movement, and no longer stepping on the water.
2. The head faces up, breathe normally
Keep your head above the water and try to breathe slowly and regularly.Slowing your breathing is to allow you to relax calmly and store your physical strength to step on the water longer.
3. The arm swing in the horizontal direction
If you move your arms up and down, it will drive your body to float up and down, because your arms are connected to your body.The correct method is to move the arm in the horizontal direction, move together with five fingers, draw forward the palms forward, and the palm of the palm backward, so that your upper body will keep up and not sink.
4. Draw your legs or kick your legs back and forth
If you choose your legs to draw a circle underwater, you should not be stiff or stiff at your toes or feet; if you choose to kick your legs back and forth, your toes must be kept down, and the movement of kicking back and forth cannot be interrupted.
5. Lie on the water on the back of the back, and at the same time gently scratch your arms and feet
If you want to rest for a while, you can lie on your back and lie down on the water, but your limbs still need to be continuously padded, but you don't have to scratch and work hard as you step as much as vertically.
6. You can use any floating equipment
A wood, a short paddle, and even a rubber boat, as long as it can float on the water, you can use it.You rely on consuming your physical strength, not external forces, and the less time you don't sink, the longer you can float on the water.
1. Overcoming shy psychology, not afraid of people jokes.
2. Properly strengthen physical flexibility exercise.
3. In addition to paying attention to imitation movements, we should also understand its principles.
4. Soak more water during the learning stage to make the body float from sinking.
5. study difficulties when you drink water often.
Relax after swimming training
After swimming, you need to relax the muscles of the back of the thigh, the inside of the thigh, the calf, the back, and the shoulder
1. Stretch the back muscles of the thigh
Sit on the ground, straighten your legs in front of the body, bend the other leg, the outside of the whole leg is close to the ground, and the straightened legs form a triangle with straight back.Grasp the toes that stretch your legs for 20 minutes. When you touch your toes, you are not allowed to have elastic movements (it doesn't matter if you can't touch the toes).
2. Stretch the inner muscles of the thigh
(1) Sit, the soles of your feet are close to each other, hold your knees outward and as close to the ground as possible. Grab your hands with your ankles with both hands, keep this posture, count 10, relax, and then repeat 3 times.
(2) Sit, straighten your feet in front of the body, keep your back and knees straight, flex forward from the crotch, grab the ankles of your legs from the inside of the legs, keep this posture, feel the inner side of the thighTightened, relaxed, and then repeated.
3. Stretch the calf (back) muscle
Sin down, support the body with both arms and one leg (straightened, toes on the ground), and the other leg is flexed to relax in front of the body.The muscles are tightened, kept tension, count 10, relax, repeat 3 times, and then change another leg for 3 times.
4. Stretching thigh muscles
Lie on your back, raise a leg, grab your thighs and approach the end of the knee, pull it to the chest, keep the other leg straightened and close to the ground, the head cannot leave the ground, keep the posture, count 10, repeat 3 times, and change the legs.
5. Stretching shoulder muscles
(1) Use one hand to grab the elbow of the opposite arm from the outside and back, pull it to the opposite side of the arms, keep the number of postures 10, repeat 3 times, and then stretch the shoulders on the other side.
(2) Holding each other with both hands on the top of the head, the palm of the palm is facing up, the arms are upward, stretching backwards, and keeping it for 15 seconds.
(3) Straighten one arm up, then bend the forearm back to the back of the head, relax, grab the elbow from behind the head with the opposite hand, slowly pull it to the opposite side, and keep it for 15 seconds.